Dynamic Mechanical Analysis
Dynamic Mechanical Analysis
Sets New Standards

DMA/SDTA 1+
- STARe System
- Inovative Technology
- Versatile Modularity
- Swiss Quality
Features and benefits
- Unique measurement of both displacement and force
- Wide force range from 1 mN to 40 N
- Broad frequency range from 0.001 to 1000 Hz
- DMA experiment wizard
- Patented SDTATM technique
- Extremely wide stiffness range
- Ergonomic design and touch-screen control
Outstanding Technology
Sound Investment for the Future
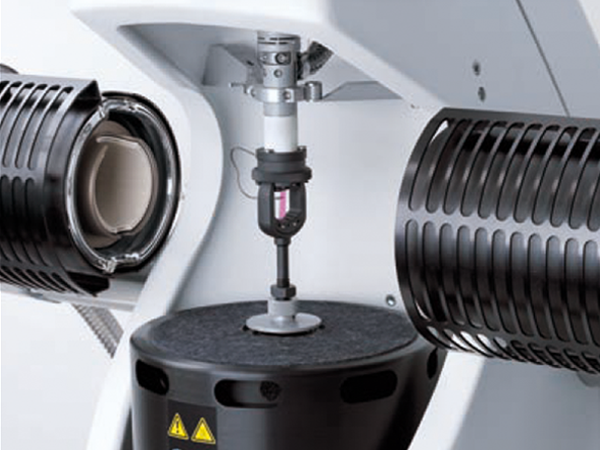
The measurement principle of the DMA/SDTA 1+ ensures high accuracy because it measures both displacement and force, yielding very accurate modulus values. It was designed to measure material behavior at high frequencies to match real-life conditions. This is enabled by its very stiff stand resulting in an intrinsic resonance frequency of about 1500 Hz – well above the measurement frequencies used (up to 1000 Hz).

Force measurement using a piezoelectric crystal
Force is measured directly by means of a piezoelectric crystal and is not set using a force-current graph as in conventional DMA instruments. The force measured is that which is actually applied to the sample. Compensation for frictional losses, membrane force and inertia is no longer necessary.
More accurate displacement measurement
A special temperature-resistant LVDT allows measurements to
be performed over a large dis- placement range with nanometer resolution. The LVDT is located close to the sample so that only the deformation of the sample is measured. This eliminates any effect due to deformation of the stand and also improves the accuracy of measurement of the phase shift. The reproducibility
of the displacement measurement is improved by measuring the temperature of the LVDT sensor and correcting for the deviation.

Wide frequency range from 0.001 to 1000 Hz
The frequency range has been extended to the kHz region for the first time ever in a DMA instrument. In the shear mode, six decades are available. The region above 1 Hz is particularly interesting because it means that measuring times can be kept to a minimum.
Simple Operation
Clever Sample Holder Design
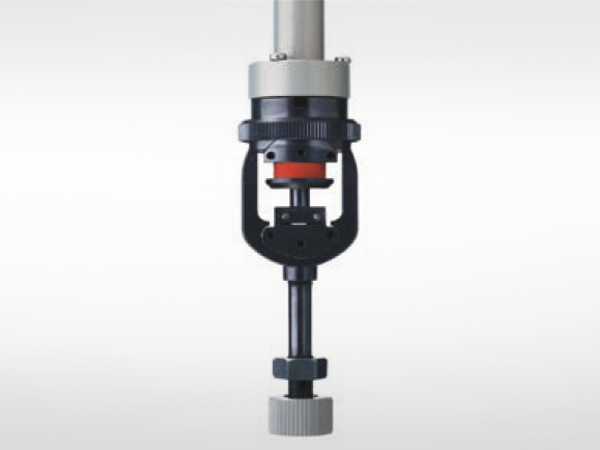
Sample preparation and sample clamping are critical steps for accurate DMA measurements. This is particularly the case for shear and tension samples which are very often small and thin. The sample holder system therefore offers important advantages.
Simplified sample holder system
The METTLER TOLEDO sample holder system is a completely new design that helps save valu- able instrument operating time. The samples are prepared and mounted externally in the sample holder. This can then be quickly installed in the instrument. The concept also allows you to change from one deformation mode to another without perform- ing an adjustment. For example, you can prepare a bending ex- periment while a measurement in the tension mode is in progress.
Touchscreen terminal – for dis- placement and force calibration
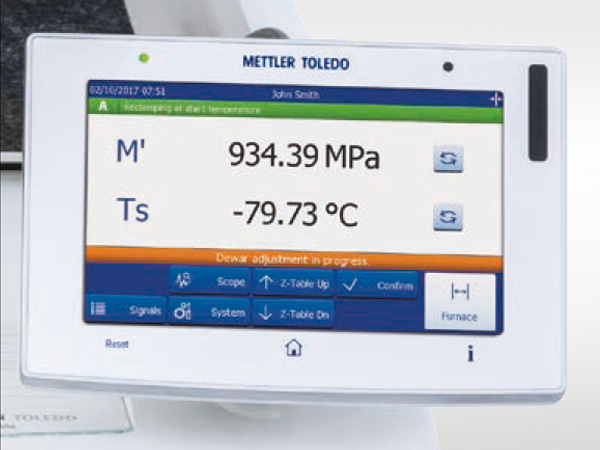
The touch-sensitive color terminal of the DMA/SDTA 1+ presents clear and precise information and is easily seen from a distance.
- All force and length calibra- tion routines are controlled via the terminal. This ensures that these operations are performed reliably and easily.
- The 4-axis alignment adjust- ment is also carried out via the terminal; the resulting values are transferred to the STARe software. This eliminates any possible transfer errors.
Automatic switch mode
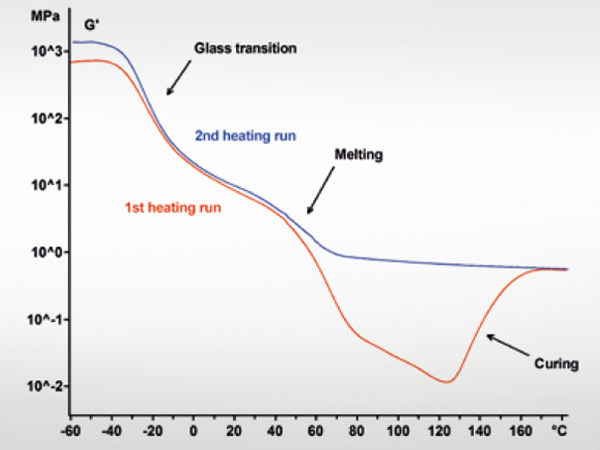
Force measurement also allows the instrument to be operated in a way not possible with conventional DMAs:
The instrument can be operated under either force or displacement control and an intelligent automatic switch mode is also possible.
Calibration and Adjustment
for Maximum Accuracy
Calibration determines how well measurement equipment performs. The standard DMA/SDTA 1+ calibration and adjustment procedures allow the user to achieve compliance and avoid potential costs resulting from inaccurate measurements. A standard operational procedure (SOP)
is available and describes the calibration of the individual quantities (force, length, temperature).

Adjustment using reference standards
- The adjustment of force, displacement and temperature is based on defined reference standards.
- Force is adjusted using
a certified spring and displacement using gauge blocks. - Temperature measurement close to the sample allows calibration using the melting points of pure substances.

Sample temperature measure- ment and calibration/adjustment
Temperature calibration and ad- justment is particularly important. An additional temperature sensor is located close to the sample. The sensor also allows thermal effects to be simultaneously measured by SDTA (Single DTA).
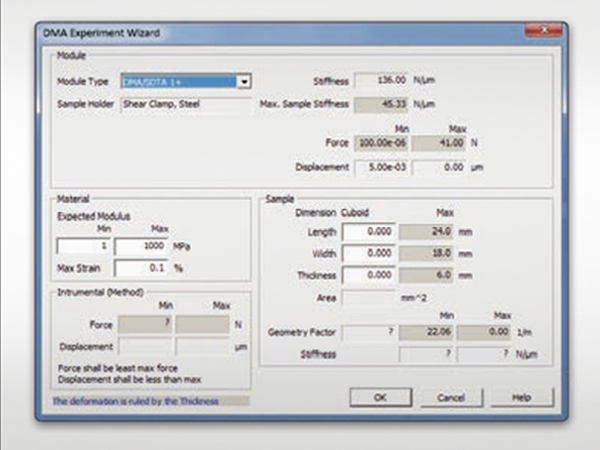
DMA Experiment Wizard
The DMA Experiment Wizard, with its built-in expert knowledge, is designed to help users establish optimal sample dimensions, necessary for achieving accurate results. The software is also able to determine ideal force and displacement amplitudes.
Sample Holders
Simple, Ingenious and Timesaving
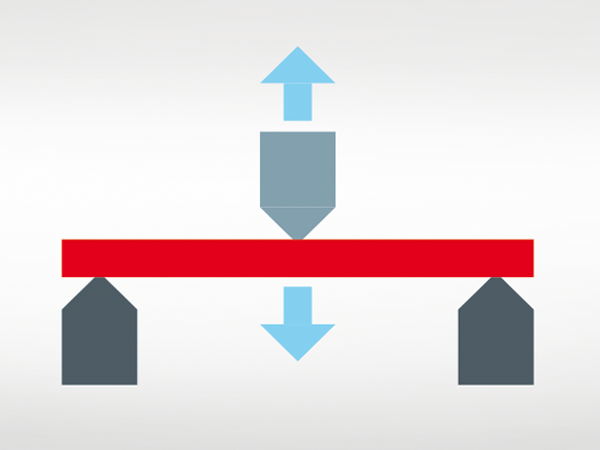
3-point bending
This bending mode is ideal for measuring extremely stiff sam- ples, such as composite materials or thermosets, particularly below the glass transition temperature.

3-point bending
This bending mode is ideal for measuring extremely stiff sam- ples, such as composite materials or thermosets, particularly below the glass transition temperature.

3-point bending
This bending mode is ideal for measuring extremely stiff sam- ples, such as composite materials or thermosets, particularly below the glass transition temperature.

In the 3-point bending mode, the ends of the sample rest on two knife edges and an oscillatory force is applied to the middle of the sample by a moving knife edge
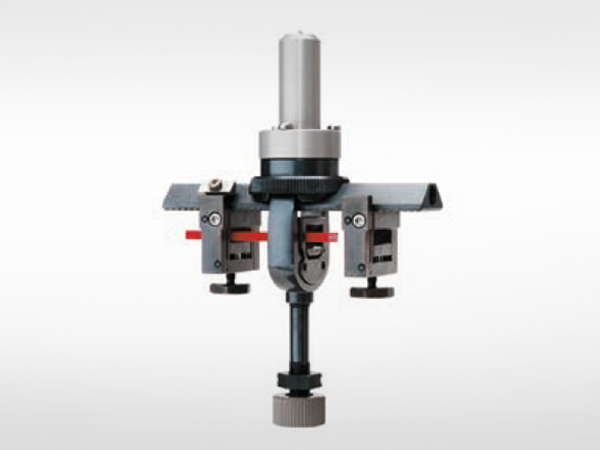
This bending mode is suitable for samples that expand or contract in the longitudinal direction during the measurement. This applies primarily to thermoplastic samples.

In the dual cantilever mode,
the ends of the sample are fixed and the middle is clamped to the moving part providing the oscillatory force.
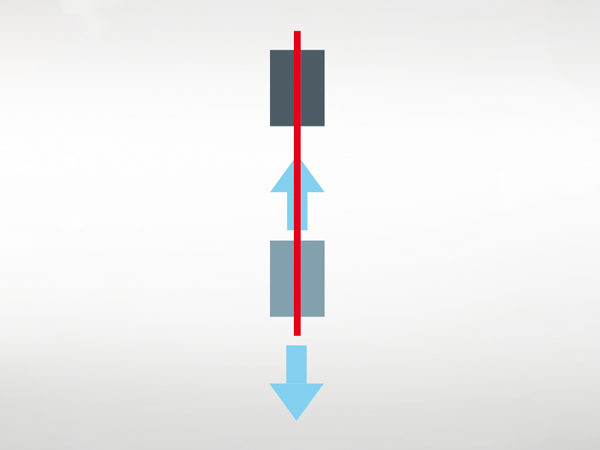
Tension
Tension is the mode most suitable for films, fibers and thin bars and rods. The advantage is that sam- ple clamping hardly affects the deformation.
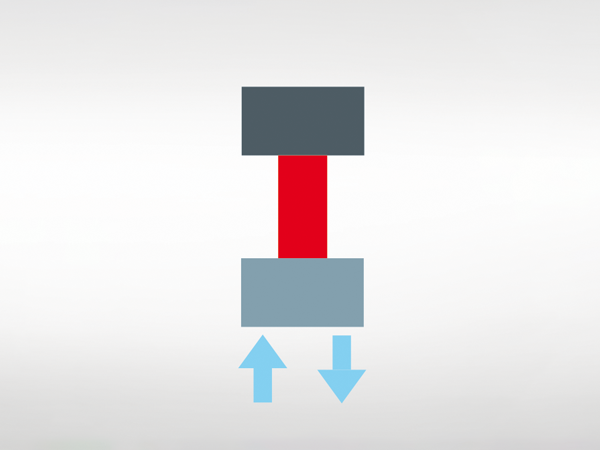
Compression
This type of measurement is less suitable for the determination of absolute values of the modulus; however, valuable relative infor- mation can be obtained when comparing soft materials like elastomers, pastes or foams.
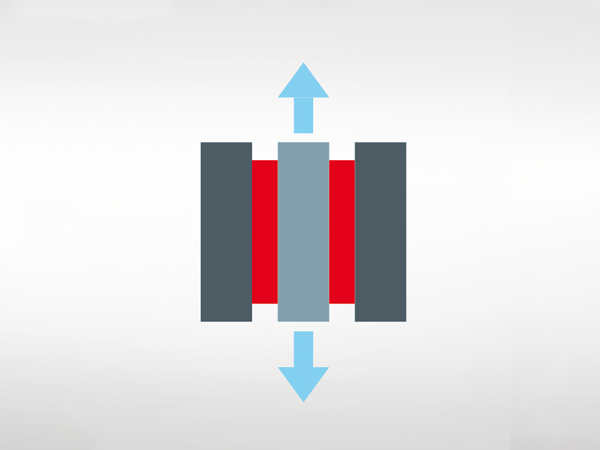
Shear
The great advantage of the shear mode is that everything from vis- cous to very hard samples can be measured. This mode is therefore ideal for elastomers, thermoplas- tics, and thermosets.

In the tension mode, one end of the sample is fixed and the other is subjected to an oscilla- tory force. The sample must be prestressed to prevent it from buckling during the oscillatory movement.

In the compression mode, the sample is clamped between a fixed part and the moving part providing the oscillatory force. The sample is compressed statically and subjected to an alternating load.

In the shear mode, two identical samples are clamped sym- metrically between two fixed outer parts and a central moving part. The shear clamp guarantees a homogeneous temperature distribution.
DMA/SDTA 1+ Specifications
| Temperature | |
|---|---|
| Range | –150 to 500 °C |
| Technical resolution | 0.003 K |
| Accuracy | 0.5 K |
| Force | |
|---|---|
| Range | 0.001 to 40 N |
| Technical resolution | 0.15 mN (0 to 5 N), 1.5 mN (5 to 50 N) |
| Sensitivity | 1 mN |
| Displacement | |
|---|---|
| Range | ± 1.6 mm |
| Technical resolution | 0.6 nm |
| Sensitivity | 5 nm |
| Stiffness | |
|---|---|
| Range | 10 to 108 N/m |
| Precision | 0.2% |
| Tan delta | |
|---|---|
| Range | 0.0001 to 5000 |
| Technical resolution | 0.00001 |
| Sensitivity | 0.0001 |
| Frequency | |
|---|---|
| Range | 0.001 to 1000 Hz* |
| Technical resolution | 0.00001 |
| Frequency increments (∆f) | 0.0001 |
| Frequency modes | • Linear or logarithmic • Frequency series • Multi-frequency |
| Deformation modes | |
|---|---|
| 3-point bending Dual cantilever Single cantilever |
Length: 30 to 90 mm, length: 20 to 80 mm Width: < 15 mm, thickness: < 5 mm Max. Sample length: 100 mm |
| Bending stiffness range | 1 to 106 N/m |
| Shear | Diameter: ≤ 15 mm, thickness: ≤ 6.5 mm |
| Shear stiffness range | 1 to 108 N/m |
| Tension | Length: 19.5 mm, 10.5 mm, 9.0 mm, 5.5 mm Width: ≤ 7 mm, thickness: ≤ 3 mm |
| Tensile stiffness range | 1 to 107 N/m |
| Compression | Diameter: ≤ 19 mm, thickness: ≤ 9 mm |
| Compressive stiffness range | 1 to 107 N/m |

